Wellness Tips
Self-Massage Techniques: 10 Ways to Release Tension at Home
Learn 10 effective self-massage techniques for home use. Release muscle tension, reduce pain, and improve wellness with these easy methods.
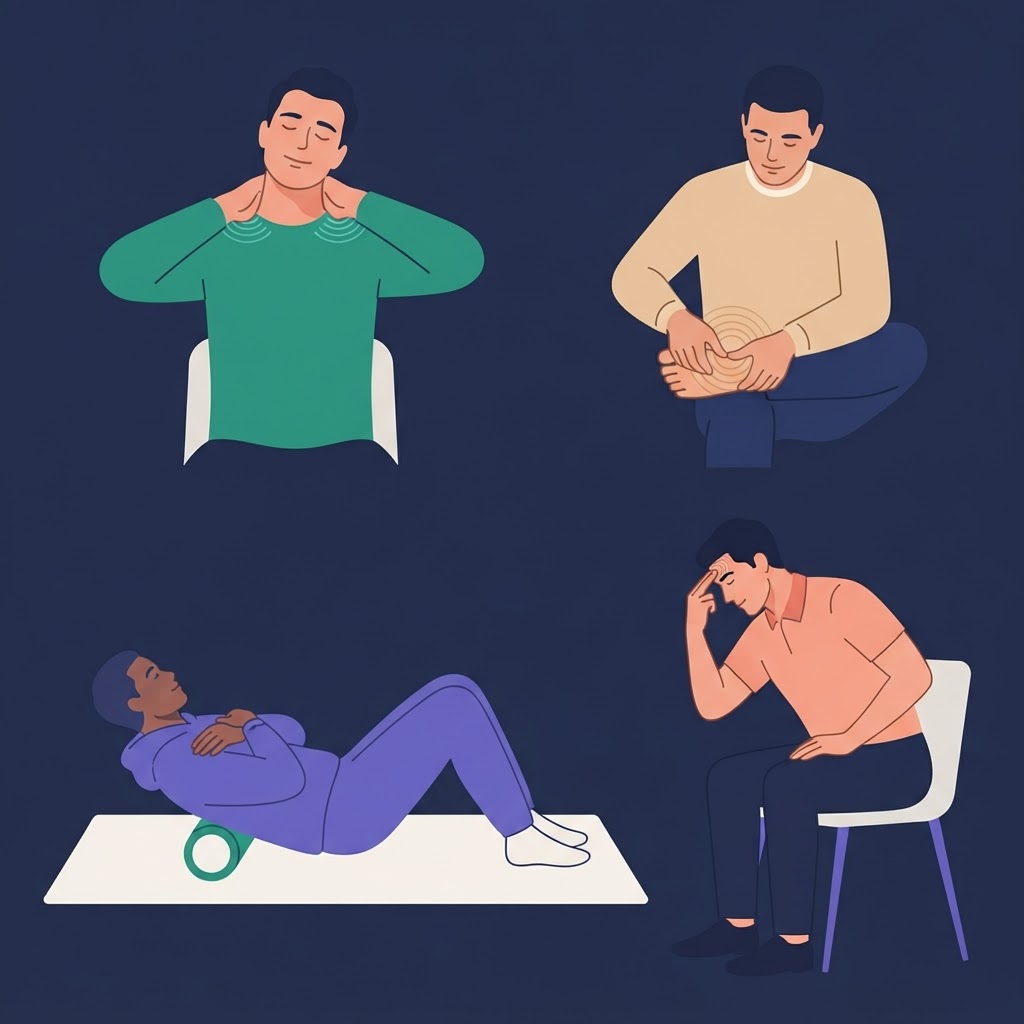
Self-Massage Techniques: 10 Ways to Release Tension at Home
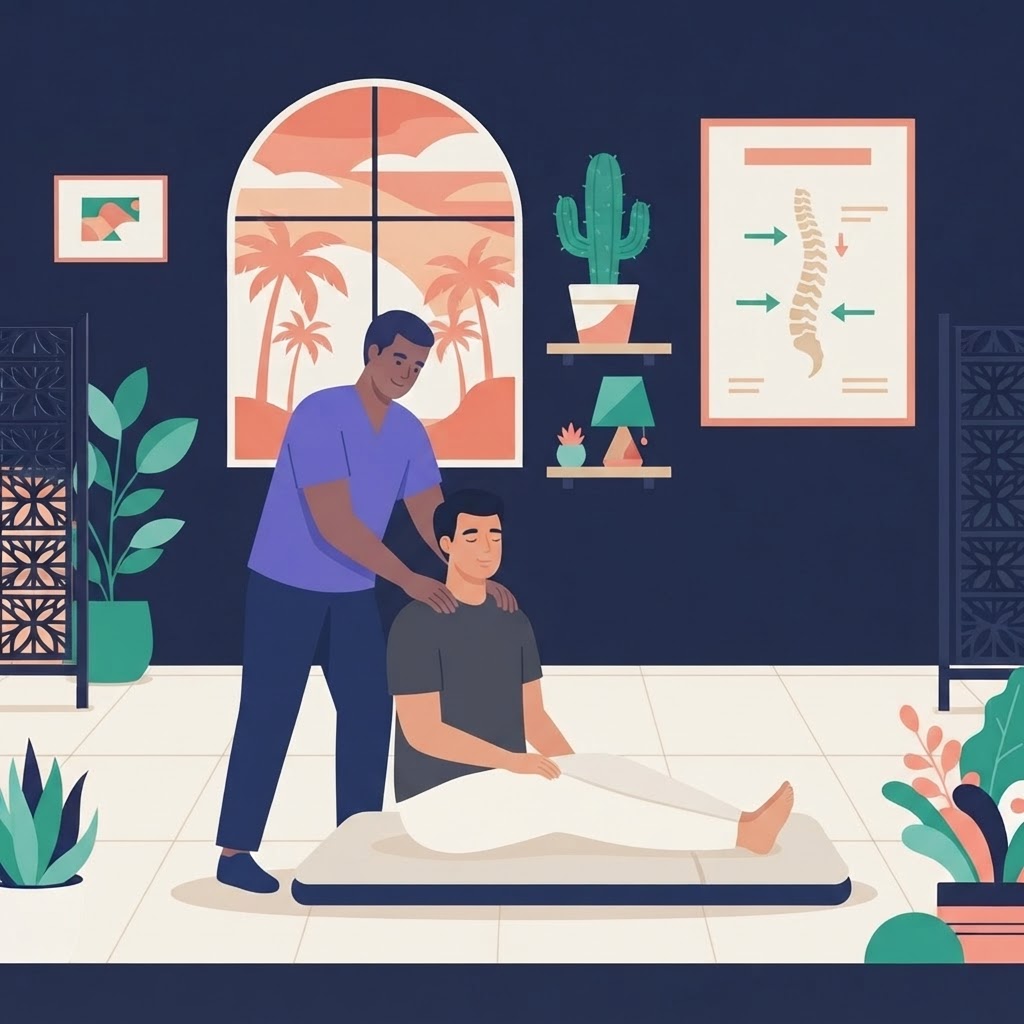
While professional massage therapy offers unparalleled benefits, learning self-massage techniques empowers you to address muscle tension and discomfort between sessions. These ten effective methods require minimal equipment and can be done anywhere, anytime.
The Benefits of Self-Massage
Regular self-massage provides:
- Immediate Pain Relief: Address discomfort as it arises
- Cost-Effective: Free once you learn the techniques
- Convenient: No appointments needed
- Empowering: Take control of your own wellness
- Complementary: Extends benefits of professional massage
- Preventive: Stops small issues from becoming big problems
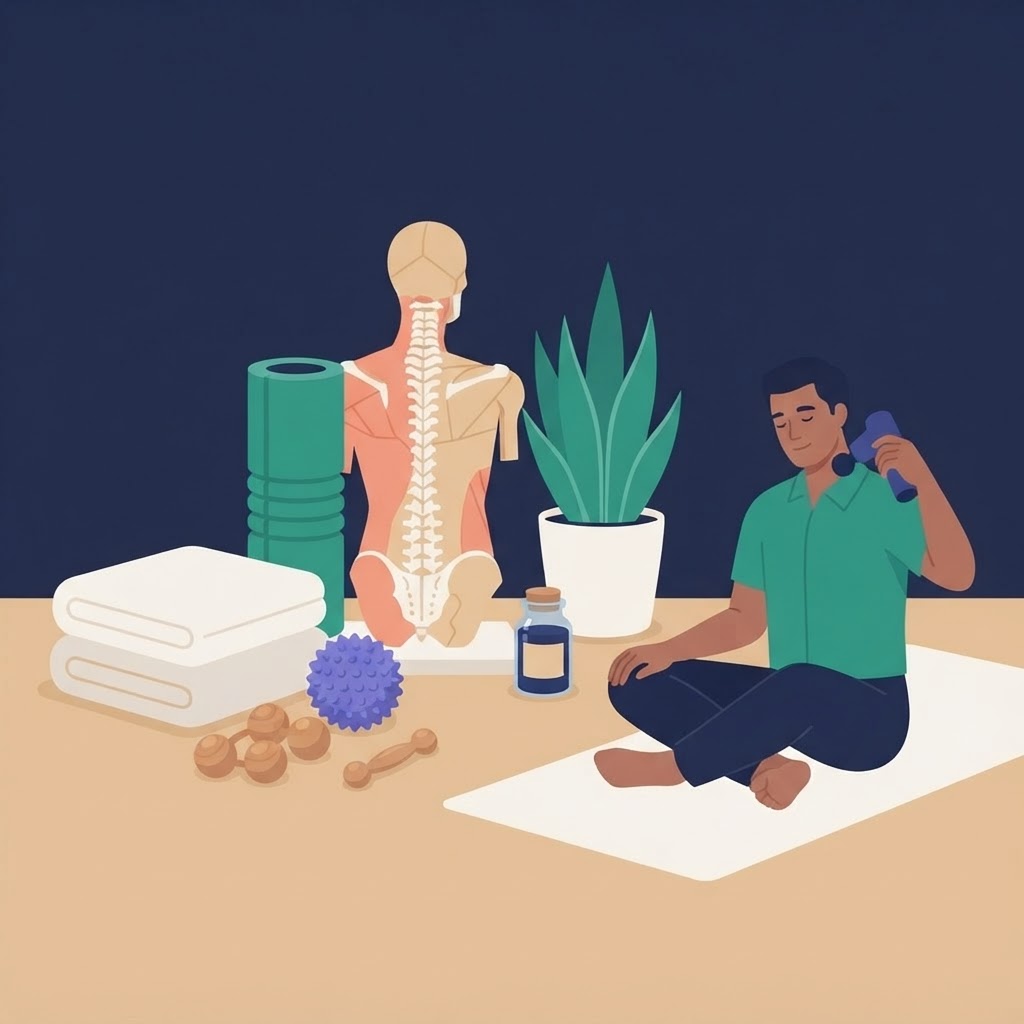
Essential Tools for Self-Massage
Basic (Free)
- Your hands
- Doorframes
- Walls
- Floor
Recommended ($20-50)
- Tennis ball or massage ball
- Foam roller
- Massage stick
- Theracane or similar hook tool
Advanced ($50-200)
- Percussion massager
- Heating pad
- Massage cushion
- Shiatsu back massager
Technique #1: Neck and Shoulder Self-Massage
Upper Trapezius Release
Why It Helps: The upper trapezius (top of shoulders) holds tremendous tension from stress, poor posture, and computer work. This muscle causes headaches and neck pain.
How To Do It:
-
Position: Sitting or standing comfortably
-
Technique:
- Reach right hand over to left shoulder
- Find the muscle between neck and shoulder
- Squeeze and knead the muscle
- Work from neck toward shoulder
- Apply firm, sustained pressure to tender spots
- Hold pressure for 20-30 seconds
- Breathe deeply
-
Duration: 2-3 minutes per side
-
Frequency: Multiple times daily when tense
Pro Tips:
- Support the working arm with other hand
- Use lotion or oil for easier gliding
- Adjust pressure—should feel good, not painful
- Work slowly and mindfully
Suboccipital Release (Base of Skull)
Why It Helps: These small muscles at the base of your skull contribute to tension headaches and neck stiffness.
How To Do It:
-
Position: Lying down or sitting with head supported
-
Technique:
- Place fingertips at base of skull
- Find the groove where skull meets neck
- Apply gentle upward pressure
- Hold for 30-60 seconds
- Small circular motions
- Work from center toward ears
-
Duration: 3-5 minutes
-
Frequency: Daily, especially before bed
Variation:
- Use two tennis balls in a sock
- Lie on balls at base of skull
- Let gravity provide pressure
Technique #2: Jaw Massage for TMJ Relief
Masseter Muscle Release
Why It Helps: Jaw clenching and teeth grinding cause facial pain, headaches, and even tooth problems. The masseter is your primary jaw muscle.
How To Do It:
-
Locate the Muscle:
- Place fingers on cheeks
- Clench teeth
- Feel the muscle bulge
-
External Massage:
- Use fingertips in small circles
- Work from jaw angle up toward cheekbone
- Apply moderate pressure
- Spend extra time on tender spots
- Do both sides simultaneously
-
Internal Massage (advanced):
- Wash hands thoroughly
- Place thumb inside mouth on masseter
- Fingers outside on cheek
- Pinch and massage muscle
- Very effective but requires practice
-
Duration: 3-5 minutes
-
Frequency: Morning and before bed, especially if you clench
Additional Techniques:
- Gentle jaw stretches (open wide, side to side)
- Warm compress before massage
- Practice relaxed jaw position throughout day
Technique #3: Foam Rolling for Large Muscle Groups
Back Rolling
How To Do It:
-
Position:
- Lie on floor with foam roller under upper back
- Knees bent, feet flat
- Hands behind head or crossed on chest
-
Technique:
- Lift hips slightly
- Roll from upper back to mid-back
- Never roll lower back (spine needs support)
- Pause on tender spots for 20-30 seconds
- Take 5-10 deep breaths on each spot
-
Duration: 5-10 minutes
-
Frequency: Daily, especially after sitting
Safety Note:
- Don't roll directly on spine
- Work the muscles on either side
- Stop if you feel sharp pain
IT Band Rolling
How To Do It:
-
Position:
- Lie on side with roller under outer thigh
- Bottom leg extended
- Top leg crossed in front for support
- Prop on elbow
-
Technique:
- Roll from hip to just above knee
- This WILL be uncomfortable
- Breathe through it
- Stop on especially tender spots
- Hold pressure for 30 seconds
-
Duration: 3-5 minutes per leg
-
Frequency: After exercise, before bed
Warning: IT band rolling is intense. Start gently and build tolerance.
Calf Rolling
How To Do It:
-
Position:
- Sit on floor, legs extended
- Roller under calves
- Hands behind for support
-
Technique:
- Lift hips off ground
- Roll from knee to ankle
- Rotate leg in and out
- Cross legs to increase pressure
- Focus on outer, middle, and inner calf
-
Duration: 3-5 minutes per leg
-
Frequency: After running or standing all day
Technique #4: Tennis Ball Trigger Point Therapy
Foot Massage
Why It Helps: Foot tension affects your entire body. The plantar fascia connects to your whole kinetic chain.
How To Do It:
-
Position: Standing or sitting
-
Technique:
- Place ball under foot
- Apply body weight
- Roll along entire foot
- Focus on arch
- Hold pressure on tender spots
- Work from heel to toes
-
Duration: 5 minutes per foot
-
Frequency: Morning and evening
Variations:
- Freeze the ball for added anti-inflammatory effect
- Use a golf ball for deeper pressure
- Try a massage roller stick
Glute Massage
How To Do It:
-
Position:
- Sit on floor
- Place ball under one buttock
- Lean toward the ball
-
Technique:
- Move around to find tender spots
- Hold pressure for 30-60 seconds
- Breathe deeply
- Work the entire gluteal region
- Pay attention to piriformis (deep in buttock)
-
Duration: 5-10 minutes per side
-
Frequency: Daily if you sit a lot
For Sciatica-Like Pain: This technique is particularly effective for piriformis syndrome that mimics sciatica.
Upper Back (Between Shoulder Blades)
How To Do It:
-
Position:
- Lie on floor
- Place ball between spine and shoulder blade
- Knees bent for support
-
Technique:
- Let body weight provide pressure
- Move slightly to explore area
- When you find a tender spot, stay there
- Take 10 deep breaths
- Move to next spot
-
Duration: 10-15 minutes total
-
Frequency: Evening, especially after computer work
Technique #5: Hand and Forearm Self-Massage
For Computer Workers and Musicians
Why It Helps: Repeated movements strain forearm muscles, causing pain that radiates to the hand and fingers.
Forearm Massage:
-
Position: Sitting comfortably
-
Technique:
- Support arm on table or lap
- Use opposite thumb to press into forearm
- Work from elbow to wrist
- Press and hold tender points
- Make small circles
- Cover both palm-side and back of forearm
-
Duration: 5 minutes per arm
-
Frequency: Every hour during computer work
Hand Massage:
-
Palm:
- Use thumb of opposite hand
- Press into palm
- Work in circles
- Follow the bones of your hand
-
Fingers:
- Gently pull each finger
- Massage each joint
- Press into the webbing between fingers
-
Duration: 3-5 minutes per hand
-
Frequency: Multiple times daily
Technique #6: Hip Flexor Release
Why It Matters
Prolonged sitting tightens hip flexors, causing:
- Lower back pain
- Poor posture
- Limited hip mobility
- Anterior pelvic tilt
- Compensation patterns
The Technique
Position:
- Lie face down on firm surface
- Place massage ball just inside hip bone
- Lower body weight onto ball
Execution:
- Find the tender spot
- Hold pressure for 30-60 seconds
- Slowly bend knee of same leg
- This engages the hip flexor
- Breathe deeply
- Release slowly
- Repeat on other side
Duration: 5-10 minutes per side
Frequency: Daily if you sit for work
Safety Note:
- Avoid if you have hip replacement
- Be gentle—this area is sensitive
- Never press directly on bone
Technique #7: Lower Back Self-Care
Important Caution
Never:
- Roll directly on lower spine
- Use hard balls on vertebrae
- Force painful stretches
- Ignore worsening pain
DO:
- Work muscles beside the spine
- Use gentle pressure
- Focus on glutes and hips
- Consult a professional for chronic issues
Safe Lower Back Technique
Glute Bridge with Pressure:
-
Setup:
- Lie on back, knees bent
- Place massage balls on either side of sacrum
- Keep balls on muscle, not bone
-
Technique:
- Lift hips slightly
- Hold for 5-10 breaths
- Lower slowly
- Adjust ball position
- Repeat
-
Duration: 10 minutes
-
Frequency: When back feels tight
QL (Quadratus Lumborum) Release:
-
Position:
- Lie on side
- Ball between bottom ribs and hip bone
- On the side of your back, not the spine
-
Technique:
- Breathe into the ball
- Hold for 1-2 minutes
- Can be intense but shouldn't be sharp pain
-
Frequency: When one side feels tight
Technique #8: Chest and Pectoral Release
Why It's Important
Tight chest muscles contribute to:
- Rounded shoulders
- Upper back pain
- Restricted breathing
- Poor posture
- Shoulder problems
Doorway Stretch
Technique:
-
Position:
- Stand in doorway
- Place forearm on doorframe
- Elbow at 90 degrees
-
Execution:
- Step forward with opposite leg
- Lean forward gently
- Feel stretch across chest
- Hold 30-60 seconds
- Repeat on other side
-
Variations:
- Arm at different heights
- Both arms simultaneously
- Add gentle torso rotation
-
Frequency: Multiple times daily, especially after desk work
Pec Minor Release with Ball
Technique:
-
Position:
- Stand facing wall or lie face down
- Place ball just below collarbone, inside shoulder
- This is your pec minor
-
Execution:
- Lean into the ball
- Move arm slowly
- Breathe deeply
- Hold on tender spots
- Work the entire pec region
-
Duration: 3-5 minutes per side
-
Frequency: Daily for desk workers
Safety Note:
- Avoid pressing directly on collarbone
- Be gentle—this area can be sensitive
- Stop if you feel numbness or tingling
Technique #9: Scalp Massage for Headaches
Benefits
- Reduces tension headaches
- Promotes relaxation
- Improves circulation
- May help with hair health
- Stress relief
- Better sleep
The Technique
Basic Scalp Massage:
-
Position: Sitting or lying down
-
Technique:
- Place fingertips on scalp
- Use firm pressure
- Move scalp, not just hair
- Small circular motions
- Cover entire head
- Pay attention to:
- Temples
- Base of skull
- Top of head
- Behind ears
-
Duration: 5-10 minutes
-
Frequency: Whenever you feel tension or headache
Enhanced Technique:
- Use oil (coconut, jojoba, or argan)
- Add essential oils (lavender, peppermint)
- Combine with hair washing
- Use scalp massager tool
For Headaches
Focus on:
- Temples (tension headaches)
- Base of skull (neck-related headaches)
- Top of head (stress headaches)
- Forehead and eyebrows (sinus headaches)
Technique #10: Lymphatic Drainage Techniques
What It Is
Lymphatic drainage is a gentle massage technique that:
- Stimulates lymph flow
- Reduces swelling
- Supports immune function
- Promotes detoxification
- Reduces water retention
Basic Technique
Key Principles:
- Very light pressure (like stroking a cat)
- Always move toward heart
- Slow, rhythmic movements
- Never painful
- Gentle and relaxing
Neck Drainage:
-
Starting Position: Sitting or standing
-
Technique:
- Place hands on sides of neck
- Light pressure
- Stroke down toward collarbones
- Repeat 10 times
- Very gentle
Arm Drainage:
-
Position: Arm relaxed
-
Technique:
- Start at fingertips
- Light stroking toward shoulder
- Follow natural flow
- Include entire arm
- 10 strokes per section
Leg Drainage:
-
Position: Lying down or sitting
-
Technique:
- Start at feet
- Stroke toward thighs
- Very light pressure
- Both legs
- Elevate legs after
When to Use:
- Morning (gets system moving)
- After travel
- When feeling congested
- During illness (with doctor approval)
- After surgery (with medical clearance)
Creating Your Self-Massage Routine
Daily 10-Minute Routine
Morning (5 minutes):
- Neck and shoulder (2 min)
- Scalp massage (2 min)
- Foot rolling (1 min)
Evening (5 minutes):
- Foam rolling back (2 min)
- Hip flexor release (2 min)
- Calf rolling (1 min)
Post-Workout Routine (15 minutes)
- Foam roll major muscles (5 min)
- Tennis ball on glutes (3 min)
- Calf rolling (3 min)
- Hip flexor release (2 min)
- Gentle stretching (2 min)
Desk Worker Routine (Throughout Day)
Every Hour:
- Hand and forearm massage (2 min)
- Neck and shoulder squeeze (1 min)
- Stand and stretch
Lunch Break:
- Doorway chest stretch (2 min)
- Upper trap massage (3 min)
- Foot rolling (2 min)
After Work:
- Full foam rolling session (10 min)
- Tennis ball on upper back (5 min)
When to See a Professional
Self-massage is excellent, but see a therapist when:
- Pain persists despite self-care
- Sharp or severe pain
- Numbness or tingling
- Pain after injury
- Limited range of motion
- Pain affecting sleep or daily activities
- Unsure what's causing pain
- Want deeper work than you can provide
- Need accountability and guidance
Tips for Success
Consistency Matters
- Brief daily sessions beat occasional long ones
- Make it a habit
- Attach to existing routines
- Set phone reminders
- Keep tools visible and accessible
Listen to Your Body
- Discomfort is okay
- Pain is not
- Start gentle, progress gradually
- Each person's tolerance differs
- Adjust techniques to your needs
Combine Approaches
- Use multiple techniques
- Integrate with stretching
- Add heat or ice as appropriate
- Stay hydrated
- Get adequate sleep
Make It Enjoyable
- Create a relaxing environment
- Use essential oils
- Play calming music
- Dim lights
- Make it a self-care ritual
Conclusion
Self-massage is a powerful tool for managing muscle tension, reducing pain, and maintaining wellness between professional massage sessions. These ten techniques provide a comprehensive approach to self-care that you can practice anywhere, anytime.
Remember:
- Start slowly and build your practice
- Consistency is more important than duration
- Listen to your body
- Combine techniques for best results
- Professional massage complements, not replaces, self-care
- Make it part of your daily routine
By incorporating these self-massage techniques into your wellness routine, you'll experience reduced muscle tension, decreased pain, and improved overall well-being—all while taking an active role in your own health care.
Ready for professional treatment? Browse our directory of skilled massage therapists who can teach you additional self-care techniques and provide the deeper work your body needs.
Illustrated guide to Self-Massage Techniques: 10 Ways to Release Tension at Home